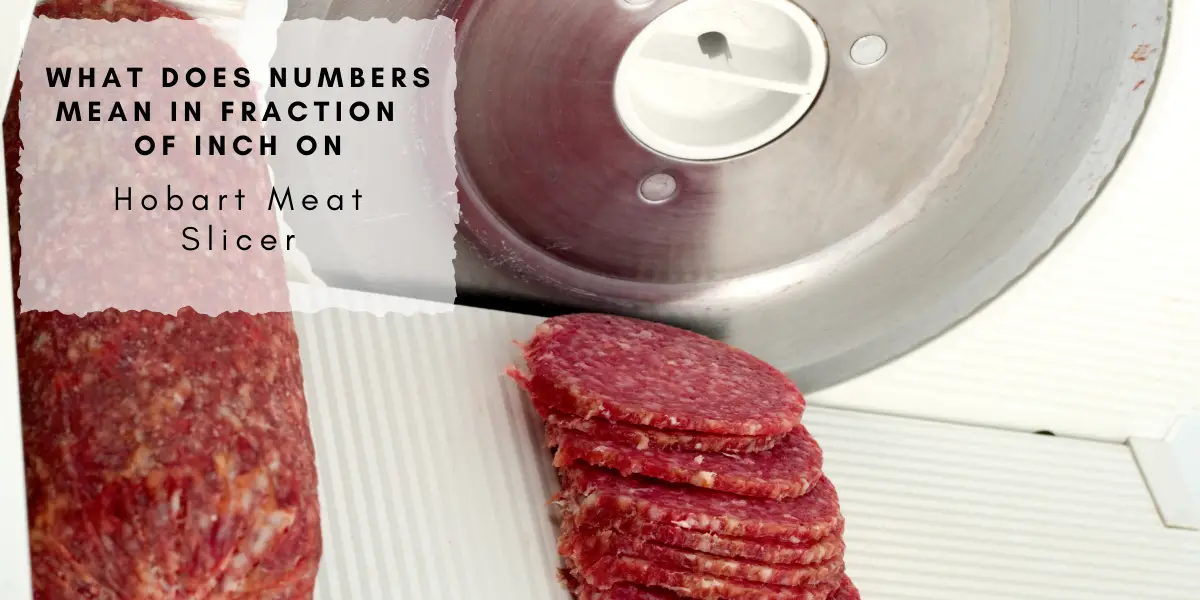
Direct Answer: To take apart a Hobart meat slicer, ensure it is unplugged and set at zero thickness, remove the meat carriage, the center plate, and the blade using the blade removal tool. Clean each component separately. Reassemble in the reverse order.
Navigating the world of kitchen appliances can be daunting, especially when it comes to maintenance and cleaning. The Hobart meat slicer, renowned for its exceptional service in delis, sandwich shops, and home kitchens, is no exception. Even though its stellar performance speaks volumes, it still requires regular care. Whether you need to deep clean it or replace its blade, knowing how to disassemble your Hobart meat slicer safely and efficiently is crucial.
Hobart Meat Slicers Assembly: A Hobart meat slicer generally includes a thickness knob, power cord, meat carriage, center plate, and blade. All these components work together in harmony to provide you with perfectly sliced meat, every time.
How To Take Apart A Hobart Meat Slicer?
Step 1: Safety and Preparation: Before anything else, ensure you’re appropriately geared for the task. Put on food-grade gloves to maintain hygiene and safety. Read the operating manual thoroughly to acquaint yourself with the slicer’s parts and functions. Additionally, make sure your food preparation area is clear of clutter and contaminants.

Step 2: Unplug and Prep the Slicer: Safety should always come first. Always disconnect the slicer from its power source before you start. Turn the slice thickness knob to zero to secure the blade.
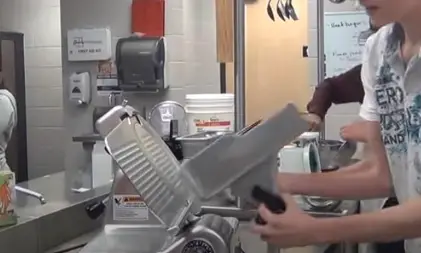
Step 3: Remove the Meat Carriage: On your Hobart meat slicer, locate the carriage knob. Unscrew it and pull the carriage toward you. You should be able to engage two locking pins that allow you to lift the meat carriage out. Note that a removable meat carriage can be cleaned in a sink but not in a dishwasher.
Step 4: Remove the Center Plate: The center plate is held in place by a knob located at the rear of the blade. Unscrew this knob to remove the center plate. This part can also be cleaned in a sink but should avoid the dishwasher.

Step 5: Blade Removal: Lift the sharpening housing. You’ll then need to use the blade removal tool. Place it over the blade, ensuring it fits snugly against the blade’s surface. Now, hold the outer handle with one hand and gently rotate the center handle a quarter turn counterclockwise. Lift the blade removal tool, which will now safely hold the blade, concealing the blade edge. Attach the protective cover firmly in place.
Step 6: Clean Each Component: Each component of the slicer should be carefully cleaned with a damp cloth, warm water, and mild detergent. Avoid using harsh or abrasive cleaners, as they can damage the slicer’s components.
Step 7: Reassemble the Slicer: Now that your slicer is clean, it’s time to put it back together. To reassemble your slicer, follow the previous steps in reverse order. Remove the safety cap, reload the blade into the blade removal tool, and rotate the center handle a quarter turn clockwise. Lift the blade removal tool away, replace the center plate shaft, and then reattach the meat carriage. Ensure all parts are securely in place before plugging in the slicer again.
Replacing The Blade On A Hobart Meat Slicer
When your Hobart meat slicer has sliced its last sandwich and needs a fresh blade, follow these steps:
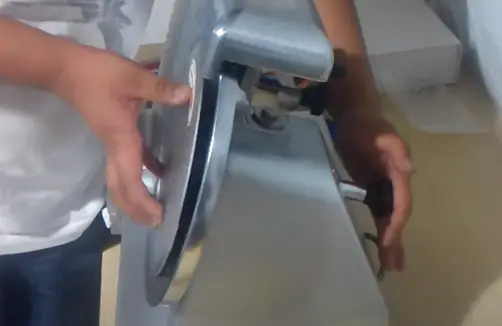
Step 1: Remove the Blade Guard Begin by locating the two thumbscrews situated behind the blade. Loosen these screws, then carefully lift the blade guard up and away from the machine. Set the guard aside in a safe place where it won’t be accidentally knocked or damaged.
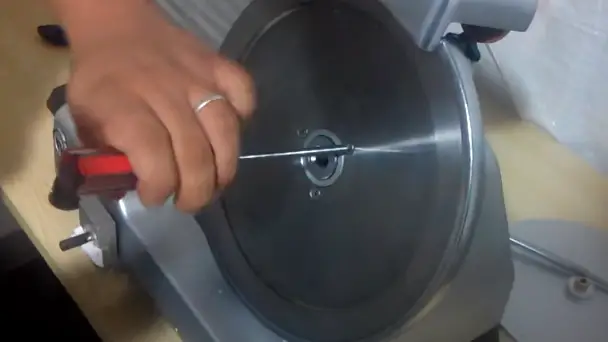
Step 2: Remove the Blade Nut Next, turn your attention to the large nut at the blade’s center. It has a hexagon shape, and you can remove it using a punch. Position the punch’s top against a corner of the nut and tap gently to initiate unscrewing. Once it’s loose enough, you can unscrew it fully with your hands. Using a punch minimizes the risk of cutting your hands on the blade.
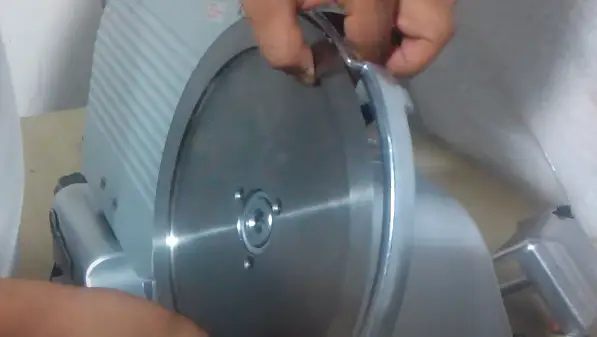
Step 3: Remove the Blade Now, set the slicer to its widest aperture by turning the slice thickness dial to the largest number. With a pair of work gloves on for safety, carefully lift the blade from the slicer’s body. Store the blade in a safe container, such as a cardboard box, to keep the sharp edges away from accidental contact.
Step 4: Clean the Slicer With the blade removed, take this opportunity to clean the body of the slicer and blade guard thoroughly. Use regular dish soap and a sponge or dish scrubber to clean every accessible part of your slicer. Let the machine dry completely before proceeding to the next step.
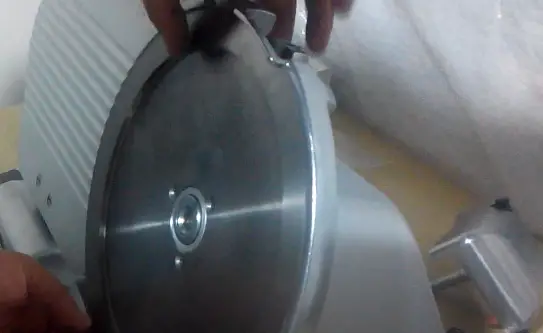
Step 5: Install the New Blade Using your work gloves, hold the new blade and carefully mount it onto the spindle, replacing the old blade. Put the nut back onto the blade’s center and hand-tighten it as much as possible. To securely tighten the nut, use the punch again but in the reverse process, gently tapping the edge in the opposite direction. Finally, replace the blade guard to complete your installation.
Safety Tips
- Training: Before operating a Hobart meat slicer, make sure you have been properly trained.
- Use Protective Gear: Always wear hygienic food-grade gloves when handling the slicer to protect your hands from possible injury and maintain cleanliness.
- Use the Meat Grip: Utilize the meat grip to hold the product in place. This keeps your hands away from the rotating blade and helps maintain control over the slicing process.
- Carriage Position: After every use, return the carriage to its home position. This ensures that the slicer is at its safest setting when not in operation.
- Close the Gauge Plate: Always close the gauge plate after use by turning the index knob clockwise. This ensures the blade is not unnecessarily exposed.
- Unplug the Slicer: Once finished with your slicing tasks, always unplug the slicer. This is a key safety measure to prevent any accidental activation of the slicer.
- Regular Cleaning: Clean the slicer after each use to prevent food residue build-up, which can not only affect the slicer’s performance but also become a breeding ground for bacteria.
- Blade Care: Take care when handling the blade, particularly when cleaning the slicer or changing the blade. Use the provided blade removal tool to safely handle the blade.
- Proper Storage: When not in use, store the slicer in a safe, dry place where it will not be accidentally knocked over or exposed to the elements.
- Routine Maintenance: Periodically check the slicer for any signs of wear and tear. Regular maintenance helps ensure the longevity of your slicer and keeps it functioning safely.
FAQs
Why is it important to disassemble a meat slicer for cleaning?
Disassembling a meat slicer allows for a thorough cleaning, helping to remove any food residue trapped in crevices. This ensures that your slicer remains hygienic, preventing cross-contamination and maintaining the quality of your food.
How often should I clean my meat slicer?
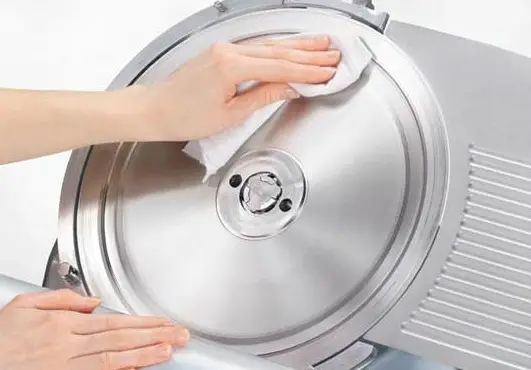
It’s recommended to clean your meat slicer after every use. If the slicer is used frequently throughout the day, it should be cleaned at least once every four hours.
How do I know when the blade of my meat slicer needs to be replaced?
If your slicer is leaving uneven cuts or struggling to slice through the meat, it might be time to replace the blade. Also, look for visible nicks or damage to the blade.
Is it safe to clean the blade of a meat slicer with my hands?
No, it’s safer to use the blade removal tool provided with your slicer. The tool helps you handle the blade safely, reducing the risk of cuts.
Can I sharpen the blade of my meat slicer, or do I need to replace it?
Many meat slicer blades can be sharpened, prolonging their useful life. However, over time and with heavy use, the blade will eventually need to be replaced.
What should I do if my meat slicer isn’t slicing evenly?
Check the sharpness of the blade. A dull blade can lead to uneven slicing. If the blade is sharp but you’re still getting uneven slices, it might be an issue with the thickness setting or the angle of the carriage.
Can I wash the components of my meat slicer in the dishwasher?
It depends on the slicer model . While some parts might be dishwasher safe, others, particularly the blade and motor components, should not be exposed to dishwasher cleaning. Always consult your slicer’s user manual for specific cleaning instructions.
<Conclusion
Taking apart a Hobart meat slicer for maintenance or blade replacement may seem daunting at first, but with clear instructions and safety precautions, it can be straightforward. It’s important to remember to unplug the appliance before you begin and to wear appropriate safety gloves to protect your hands. Regular maintenance, including thorough cleaning and timely blade replacement, will ensure your Hobart meat slicer continues to perform at its best. Whether you’re running a deli counter or preparing food at home, taking good care of your equipment ensures not only efficient slicing but also safe food handling and preparation. After all, a well-maintained slicer is key to perfect slices every time.

John Hebdon is a food enthusiast, passionate chef, and author of various articles and blog posts related to food and cooking. With a deep love for all things culinary, John’s blog serves as a platform to share his extensive kitchen experiences with a broader audience.
In addition to his culinary expertise, John has a flair for writing and a natural ability to share his passion for food with others. His articles and blog posts are informative, engaging, and packed with practical tips for readers of all skill levels.
As a food enthusiast and writer, John is always on the lookout for new and exciting culinary experiences. Whether it’s trying out a new restaurant, experimenting with a new recipe, or simply sharing a favorite dish with friends and family, John is always eager to explore and share the world of food with others.

