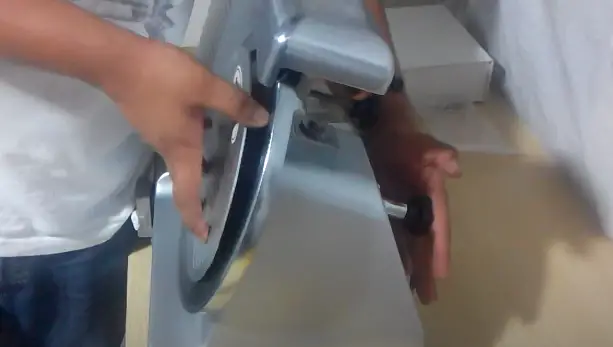
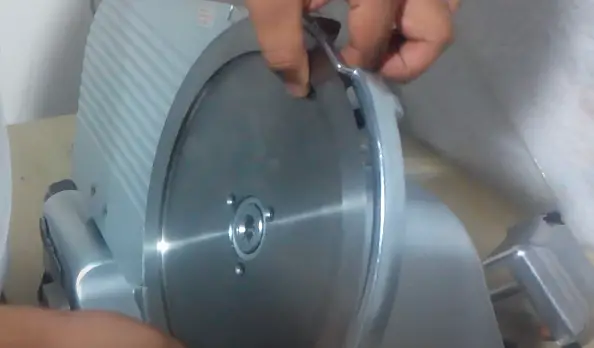
Short answer: To change a Hobart slicer blade, first remove the blade cover and loosen the central screw with a 1/16 screwdriver or punch. Then, carefully remove the blade, clean all components, and reassemble the slicer.
Slicers are an essential part of many kitchens, used for preparing everything from sandwiches to salads. When it comes to quality and reliability, Hobart slicers are among the top choices for professionals and home cooks alike. However, even the most durable slicers need regular maintenance, including changing the blade to ensure the slicer operates efficiently and safely. Whether you’re a professional chef or a DIY enthusiast, understanding how to change your Hobart slicer blade is a skill that will keep your equipment in peak condition, ready to slice whenever you need it.
How To Change A Hobart Slicer Blade?
Removing the Blade:

Step 1: Pull the product tray towards yourself.
Step 2: Turn the index knob to ensure the gauge plate is closed.
Step 3: Remove the meat grip assembly by loosening the meat grip slide rod.
Step 4: Remove the product tray by loosening the knob.
Step 5: Remove the sharpener by lifting it straight up.
Step 6: Remove the ring guard cover by lifting it up.
Step 7: Rotate the knife to align the arrow on the knife with the pin on the ring guard at the 1 o’clock position. The ridge on the knife hub should also align with the same pin.
Step 8: Align the pin at the 11 o’clock position and the three slots of the knife removal tool around the pins on the ring guard.
Step 9: Push the handle firmly into the hub, turn the handle counterclockwise until it stops, then lift the knife tool up and out.
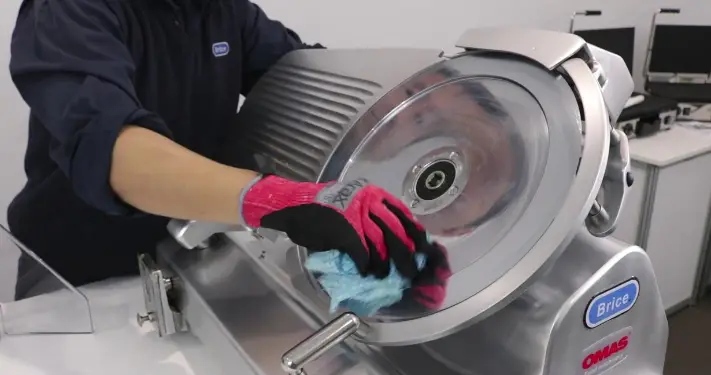
Step 10: Wash, rinse, and sanitize all parts.
Replacing the Blade

Step 1: To replace the blade, orient the knife hub so it points to the pin on the ring guard at the 1 o’clock position.
Step 2: Place the knife tool, and push the handle firmly. Turn the handle clockwise until it stops, then lift the tool up and out.
Step 3: Install the ring guard cover.
Step 4: Position the top knife cover and lower the latch knob.
Step 5: Install the sharpener.
Step 6: Tilt the product tray back into place and tighten the knob.
Remember to always exercise caution when handling the slicer blade, and make sure to wear safety gloves throughout the process.
FAQs
What tools are needed to change the blade on a Hobart slicer?
You’ll need a 1/16 screwdriver or a punch to loosen the blade and a pair of hygienic, food-grade gloves for safety.
How do I know when my Hobart slicer blade needs changing?
If you notice the blade is not cutting as efficiently as before or the slices are uneven, it may be time to change your blade. Always consult your slicer’s manual or contact the manufacturer if you’re unsure.
Can I change the blade on my Hobart slicer myself?
Yes, you can change the blade yourself by following the manufacturer’s instructions carefully. However, remember to exercise extreme caution as slicer blades are very sharp.
How often should I change the blade on my Hobart slicer?
The frequency of changing the blade depends on how often you use your slicer. If you use it regularly, you may need to change the blade every few months. Always check the blade regularly for signs of wear or damage.
How do I clean my Hobart slicer blade after removing it?

After removing the blade, wash it in warm soapy water, then rinse and sanitize all parts. Dry them thoroughly before reassembly. Always be careful when handling the blade.
Can I sharpen the blade on my Hobart slicer instead of changing it?
Yes, many Hobart slicer models come with built-in or separate sharpeners that you can use to sharpen the blade. However, if the blade is damaged or excessively worn, it’s recommended to replace it.
What should I do if I can’t remove the blade from my Hobart slicer?
If you’re having trouble removing the blade, don’t force it as this could damage the slicer or cause injury. Check the manual for troubleshooting tips, or contact the manufacturer or professional repair service.
How do I ensure my safety when changing a Hobart slicer blade?
Always unplug the slicer before you start the blade-changing process. Wear safety gloves to protect your hands and follow the steps carefully. Never rush the process, and always handle the blade with care.
Conclusion
Changing the blade on your Hobart slicer is not just essential for maintaining performance, but it’s also vital for safe operation. The process may differ slightly depending on the model but generally involves removing the blade cover, loosening the blade with a tool, removing the blade, and cleaning all components before reassembling. Always prioritize safety when handling the blade, even when it appears dull.
Key Points
- Safety should always be the first priority.
- Removing the blade involves removing the cover, loosening the blade with a tool, and carefully pulling off the blade.
- After removing the blade, clean all parts of the slicer.
- Reassemble the slicer by reloading the blade, replacing the center plate shaft, and replacing the meat carriage.

John Hebdon is a food enthusiast, passionate chef, and author of various articles and blog posts related to food and cooking. With a deep love for all things culinary, John’s blog serves as a platform to share his extensive kitchen experiences with a broader audience.
In addition to his culinary expertise, John has a flair for writing and a natural ability to share his passion for food with others. His articles and blog posts are informative, engaging, and packed with practical tips for readers of all skill levels.
As a food enthusiast and writer, John is always on the lookout for new and exciting culinary experiences. Whether it’s trying out a new restaurant, experimenting with a new recipe, or simply sharing a favorite dish with friends and family, John is always eager to explore and share the world of food with others.


