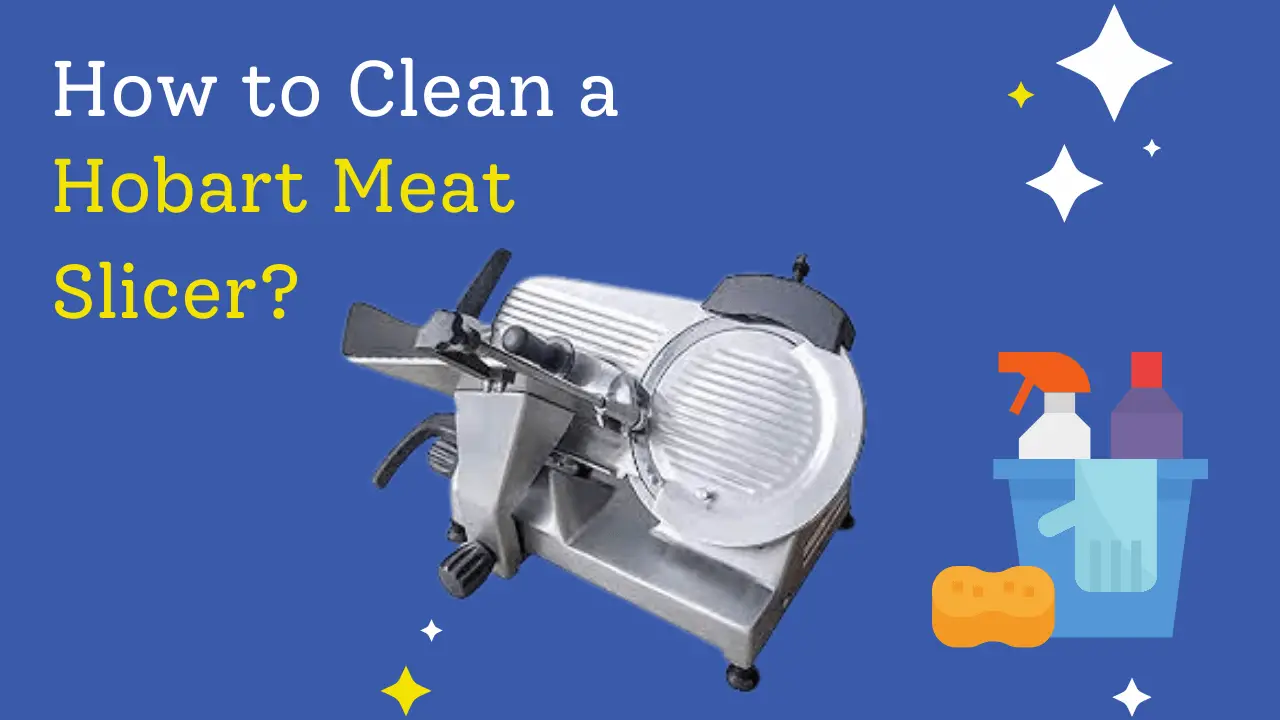
To adjust your Hobart slicer attachment, follow these steps: Turn off and disconnect the power unit. Locate the adjusting nut on the attachment and adjust the thickness setting to your desired level. Choose the appropriate plate for shredding or grating based on your needs. Reassemble the attachment and securely attach it to the power unit.
Understanding Your Hobart Slicer Attachment

The Hobart slicer attachment is a versatile tool, ideal for slicing a wide range of products from potatoes and vegetables to fruits and even cheese. The slicer is designed for long-lasting service, provided it’s used and maintained correctly.
Key Components of the Hobart Slicer Attachment
- Back case
- Front – either hopper with a feed pusher or tubular with a feed stopper
- Plate and shaft units – an adjustable slicer, a shredder, or a grater
Adjusting The Hobart Slicer Attachment: Step-By-Step Guide:
Step 1: Turn Off And Disconnect The Power Unit
- Safety is paramount, so make sure the power unit is switched off and disconnected from the electrical supply.
Step 2: Locate And Adjust The Thickness Setting
- Find the adjusting nut on the attachment and turn it to adjust the desired thickness setting.
- For the vegetable slicer, adjust the slicer plate unit from approximately 1/16 of an inch to 5/8 of an inch.
- For shredding or grating, select the appropriate plate with the desired hole size.

Step 3: Select The Appropriate Plate For Shredding Or Grating
- The Hobart slicer attachment offers a range of plate options for different applications.
- Shredder plates are available with hole sizes of 3/32, 3/16, 5/16, and 1/2 inch.
- Use the coarse plate for making chopped slaw, soup stock vegetables, salad blends, or hash brown potatoes.
- The medium and fine plates are ideal for fine shredding of carrots, beets, turnips, and salads.
- The grater plate is used for crumbling hard cheese or grating hard vegetables.
Step 4: Reassemble And Secure The Attachment To The Power Unit
- After adjusting the thickness and selecting the appropriate plate, reassemble the attachment.
- Securely attach the back case of the slicer to the attachment hub using the thumb screw.
- Close the hopper front and fasten the latch to ensure it stays in place during operation.

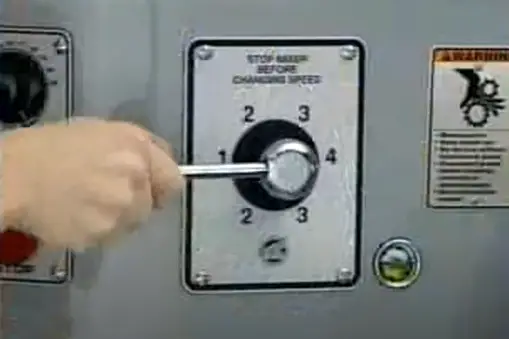
Step 5: Start The Power Unit And Adjust The Speed
- Start the power unit, such as a mixer, food cutter, or power drive.
- Adjust the speed setting according to the manufacturer’s guidelines for your specific Hobart machine.
Step 6: Safely Guide The Product Through The Slicer Attachment Using The Feed Pusher
- Raise the feed pusher and keep your hands clear of the attachment’s rotating knives.
- Place the product to be sliced in the hopper and press down gently on the feed pusher.
- Avoid applying excessive pressure, as it can crush the food and lead to uneven slices.
Step 7: Cleaning And Maintenance Tips
- Before cleaning, always unplug the electrical cord or disconnect the power supply.
- Release the latch and open the slicer front, allowing access to the rotating unit.
- Remove the rotating unit, shredder plates, or grater plates for cleaning.
- Immerse all parts in warm soapy water, rinse with hot water, and dry immediately.
- Clean the adjustable slicer unit frequently for easy thickness adjustment.
- Apply a drop of tasteless oil to the adjustment threads after cleaning.
- Occasionally, disassemble the slicer unit for a thorough cleaning.
Frequently Asked Questions (FAQs):
Can the Hobart slicer attachment be used with any Hobart machine?
Yes, the Hobart slicer attachment is compatible with Hobart machines equipped with the number 12 or number 22 attachment hub.

What can I slice using the vegetable slicer attachment?
The vegetable slicer attachment can be used to slice potatoes, cabbage, cucumbers, celery, fruits, nuts, and shred or grate cheese, raw carrots, beets, and nuts.
How do I adjust the thickness of the vegetable slicer?
Turn the adjusting nut on the attachment to achieve the desired thickness, ranging from 1/16 of an inch to 5/8 of an inch.
Which plates are suitable for shredding or grating?
- Shredder plates with hole sizes of 3/32, 3/16, 5/16, and 1/2 inch are available for different shredding needs.
- The coarse plate is commonly used for chopped slaw, soup stock vegetables, salad blends, or hash brown potatoes.
- The medium and fine plates are ideal for fine shredding of carrots, beets, turnips, and salads.
- The grater plate is used for crumbling hard cheese or grating hard vegetables.
How should I clean the slicer attachment?
- Before cleaning, ensure the power is disconnected.
- Release the latch, open the slicer front, and remove the rotating unit, shredder plates, or grater plates.
- Immerse all parts in warm soapy water, rinse with hot water, and dry immediately.
- Apply a drop of tasteless oil to the adjustment threads after cleaning.
- For thorough cleaning, occasionally disassemble the slicer unit.
Conclusion:
Adjusting your Hobart slicer attachment is a straightforward process that allows you to slice vegetables, fruits, and more with precision and consistency. By following the step-by-step guide provided in this article, you’ll be able to adjust the attachment to your desired thickness and ensure the slicer operates smoothly. Remember to prioritize safety, clean the attachment regularly, and maintain it properly to enjoy long-lasting and satisfactory service.
Key Notes and Important Points:
- Adjust the thickness setting using the adjusting nut for precise slicing.
- Select the appropriate plate for shredding or grating based on your desired outcome.
- Securely assemble the attachment to the power unit and adjust the speed accordingly.
- Use the feed pusher to guide the product through the slicer attachment, avoiding excessive pressure.
- Clean the attachment thoroughly after each use, and occasionally disassemble it for a more thorough cleaning.
- Apply a drop of tasteless oil to the adjustment threads for smooth operation.
- Ensure safety by disconnecting the power supply before cleaning or adjusting the attachment.
References and Citations:
- Hobart Instruction Manual – https://www.hobartparts.com/manuals Supplement your knowledge with the official instruction manual for the Hobart slicer attachment.
- Hobart Slicer Attachment Maintenance Guide –https://www.youtube.com/watch?v=VvuVBPc50Lc Learn more about proper cleaning and maintenance techniques to keep your slicer attachment in top condition.
- Hobart Slicer Attachment Product Page – Explore the official Hobart product page for the slicer attachment to discover additional features and specifications.
- Hobart Slicer Attachment Demonstration Video –https://www.youtube.com/watch?v=3CQdVptoLAI Watch a visual demonstration of adjusting and using the Hobart slicer attachment for a better understanding of the process.

John Hebdon is a food enthusiast, passionate chef, and author of various articles and blog posts related to food and cooking. With a deep love for all things culinary, John’s blog serves as a platform to share his extensive kitchen experiences with a broader audience.
In addition to his culinary expertise, John has a flair for writing and a natural ability to share his passion for food with others. His articles and blog posts are informative, engaging, and packed with practical tips for readers of all skill levels.
As a food enthusiast and writer, John is always on the lookout for new and exciting culinary experiences. Whether it’s trying out a new restaurant, experimenting with a new recipe, or simply sharing a favorite dish with friends and family, John is always eager to explore and share the world of food with others.

