The kitchenaid rotor slicer shredder is a versatile tool. It is helpful for slicing and shredding nuts, fruits, vegetables, cheese, chocolate, and meat. With its powerful motor and sharp blades, the slicer shredder can quickly and easily shred food. It also features a detachable food pusher that helps guide food through the blades and a safety guard that protects your hands from the sharp blades.
Multiple cones can be attached with a Kitchenaid stand mixer. These cones have thin, thick blades for slicing and shredding the desired size. These stainless steel cones can slice thinly and effectively. You can attach these cones to any KitchenAid stand mixer. These can easily be installed in the multipurpose power hub.
Different Attachments Of Kitchenaid Rotor Slicer And Shredder
Cones can be attached with the KitchenAid rotor slicer and shredder. Their following cones are used for slicing and shredding purposes.
- Fine shredder: Fine shredder cones are used to shred crisp vegetables like turnips, potatoes, beets, carrots, nuts, firm cheese, dry bread, and coconut.
- Coarse shredder: Coarse shredder cones are used for fruits, onions, nuts, and chocolates.
- Thick slicer: It can be sliced firm food thickly. Thick slicer attachments are perfect for vegetables that are to be steamed, fried, creamed, or scalloped.
- Thin slicer: Thin slicer cones are used to slice vegetables for Cole slaw, radishes, potato chips, bread and butter pickles, cucumber, and nuts.

Attachments Of Kitchenaid Rotor Slicer And Shredder
How To Attach And Assemble Cones?
- Before attaching the slicing and shredding attachments, turn off and unplug the Kitchenaid.
- Loose the attached knob by turning it counterclockwise.
- Now remove the attachment hub cover and insert the attachment shaft housing. Rotate back and forth if necessary.
How To Use Slicer/ Shredder?
- For slicing and shredding attachments, lift the pusher handle, then place the food into the hopper.

place the correct blade - Set speed to number 4.

Set speed to number 4 - If you have to slice one item at a time, you can lift only one handle to add food.
- Place a bowl under the attachment to collect food.

Place a bowl to collect food
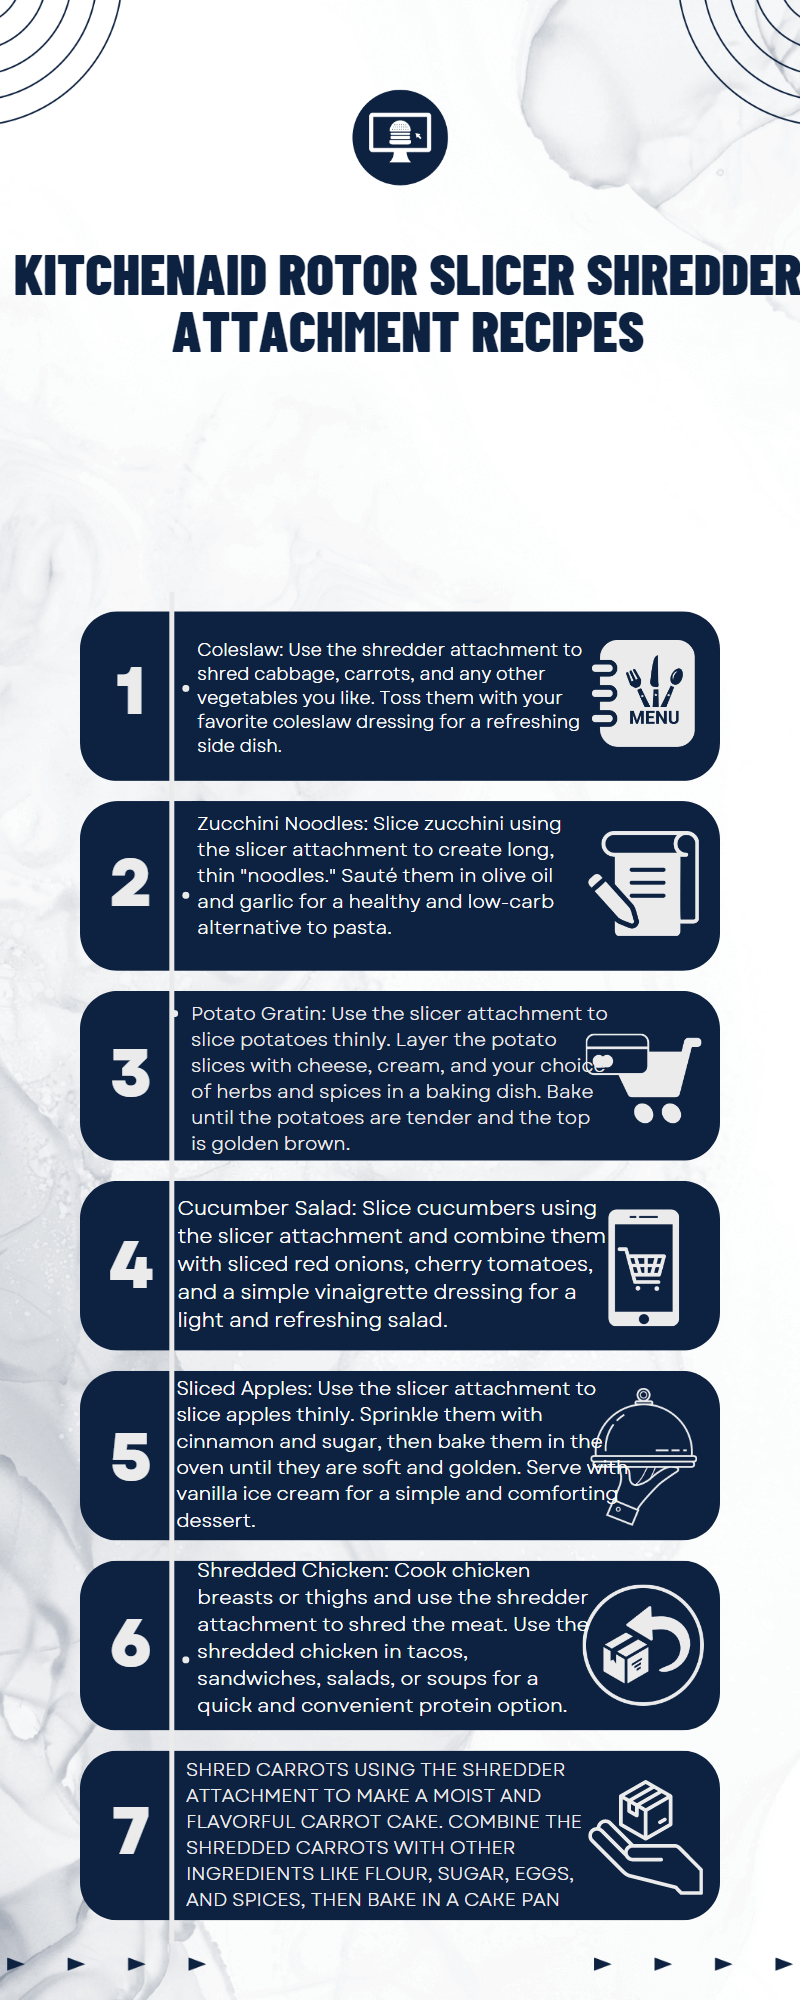
Recipes You Can Prepare With KitchenAid Attachments
You can prepare many recipes with KitchenAid rotor slicer and shredder attachments. Few of them or discussed under:
Teriyaki Vegetable Sauce Recipe

Ingredients:
- Carrots- 4 medium size
- Bell pepper – 1, red or green
- Onion – 1, medium
- Oil – 1 tablespoon
- Red pepper flakes – ¼ teaspoon
- Sugar – 1 teaspoon
- Cornstarch – 1 teaspoon
- Ginger – ¼ teaspoon
- Chicken broth – 1/2 cup
- Soy sauce – 2 tablespoon
Preparation:
- Assemble the thin slicing cone on the KitchenAid rotor slicer/ shredder. Turn speed to no4.
- Place the peeled carrots in the food tube and slice them. Also, slice bell pepper and onions. Place a large size bowl under the slicer and shredder.
- Now heat oil in a pan at a medium-high temperature.
- Add all vegetables and red pepper flakes.
- Cook for 4-5 minutes until vegetables are crispy.
- Now take a small bowl and combine all the remaining ingredients. Add them to the pan with vegetables and cook until a thick mixture is ready.
Carrot – Coconut Cake Recipe

Ingredients:
- Carrots – 4
- All-purpose flour 1-1/4 cup
- Whole wheat flour – 1 cup
- Sugar 1-1/2 cup
- Baking soda – 2 teaspoons
- Salt – ½ teaspoon
- Nutmeg – ¼ teaspoon
- Oil – ½ cup
- Pine apple juice – 1 can
- Eggs – 3
- Vanilla – 1 teaspoon
- Coconut orange cream – ¾ cup
Preparation:
- Assemble fine shredding cone and attach kitchen aid rotor slicer/shredder to stand mixture.
- Set speed to no 4 and place a large bowl under the attachment. Now shred the carrots.
- Now take a bowl and combine all-purpose flour, whole wheat flour, sugar, baking soda, salt, and nutmeg.
- Also, add oil, vanilla, and eggs. Beat the mixture and turn to speed 2. Add coconut and carrots to the mixture and mix well.
- Take a greased baking pan and pour the mixture into it. Bake it in preheated oven for 30-35 minutes at 180-degree temperature.
- When baked, ultimately bring out from the oven and place on a wire rack until cooled. Frost with cream, delicious cake is ready with the help of KitchenAid rotor attachments.
Vegetable Pizza Recipe

Ingredients:
- All-purpose flour – 2 cups
- Pizza cheese – 1 package
- Powdered sugar – 2 tablespoons
- Oil – 2 tablespoons
- Salt – ½ teaspoon
- Instant yeast – 2 tablespoons
- Egg – 1
- Oregano – ½ teaspoon
- Thyme – ½ teaspoon
- Capsicum – 1 Red, 1green and 1orange
- Tomato – 1
- Olive 3-4 sliced
- Mushrooms 2-3 sliced
- Cabbage – Few leaves
Preparation:
- Attach the thick shredder cone with a Kitchenaid rotor stand mixer. Set speed to 4 and slice pizza cheese.
- Change the cone and attach a thin shredding cone. Now shred vegetables one after another.
- Put all-purpose flour, sugar, salt, egg, and yeast in a large bowl. Mix them with the mixer attachment or using a beater.
- Knee the dough and let it in a warm place for an hour.
- Spread dough on the kitchen counter, apply some flour and spread it to fit on the pizza pan.
- Shift it to greased baking pan. Apply some sauce if you want, then set vegetables on the dough.
- Now spread shredded cheese on the vegetables and cover them completely. Place olives on cheese.
- Sprinkle thyme and oregano for flavor and place the pan in the oven for 25- 30 minutes.
- Delicious vegetable pizza is ready quickly by KitchenAid rotor shredding cones.
Safety And Precautions
When using Kitchenaid rotor slicer/shredder attachments, follow these basic instructions.
- Do not put the KitchenAid rotor into the water to protect it from electric shocks.
- When the KitchenAid slicer is not in use, unplug it from the outlet.
- Keep fingers away from the blades and moving parts.
- Use the KitchenAid indoors only.
- Use a food pusher for placing food.
Final Words
A kitchenaid rotor is a versatile tool that prevents you from getting multiple gadgets. It saves your money and saves large space on the kitchen counter. It can use by attaching numerous blade cones and other parts. Shredding and slicing cones are perfect for vegetables and cheese. You have no more need to use pre-sliced or pre-shredded vegetables. It is quicker and time saves kitchen appliances.

Mario Batali is a renowned author, food enthusiast, and passionate chef who has dedicated his life to exploring the world of culinary arts. With a love for sharing his knowledge and experiences, Mario has become a prominent figure in the food blogging community, inspiring countless readers with his creativity and expertise.
In addition to his culinary prowess, Mario Batali is also a talented writer with a flair for engaging storytelling. He launched his own food blog to share his recipes, cooking tips, and personal experiences in the kitchen. Over time, Mario’s blog gained a loyal following of food enthusiasts who appreciate his unique approach to cooking and his dedication to using only the finest ingredients.
Mario Batali’s passion for food and his commitment to sharing his knowledge with others have made him a true inspiration in the world of culinary arts. Through his blog, cookbooks, and public appearances, Mario continues to spread his love of food and the joy of cooking with his ever-growing fanbase.